From Stitch to Ship: How HTML Becomes Your Design Blueprint for AI Coding

The Rosetta Stone Between "That Looks Nice" and "That Actually Works"
Picture this: You've just finished the design for your next app in Figma. It's gorgeous. The colors pop. The UX makes sense. You want to throw on your black turtleneck and tell the world about your "one more thing." Surely in the age of AI you can go from design to prototype with the click of a button...
Except if you've worked with these tools, you know that's never how it turns out. The "press button" solutions will technically give you a React app. In the same way that a Lunchable is technically a meal.
The AI gives you a component that kind of looks right if you squint, with hardcoded colors, magic numbers everywhere, and a structural logic that suggests the AI was having an existential crisis mid-generation. You spend the next three hours fixing what should have taken thirty minutes to build from scratch.
I know this because I've played with enough "no code" platforms to realize there's a massive chasm between design and production-ready code.
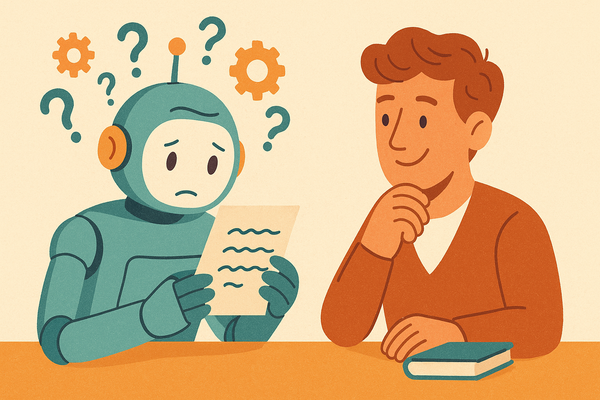
Here's the thing most people miss: AI doesn't see your designs the way you do. When you look at a screenshot, you see a login screen. When an AI looks at that same screenshot, it's processing pixels—reverse-engineering intent from a grid of colors. It's working backwards from the finished painting to guess what brushstrokes made it.
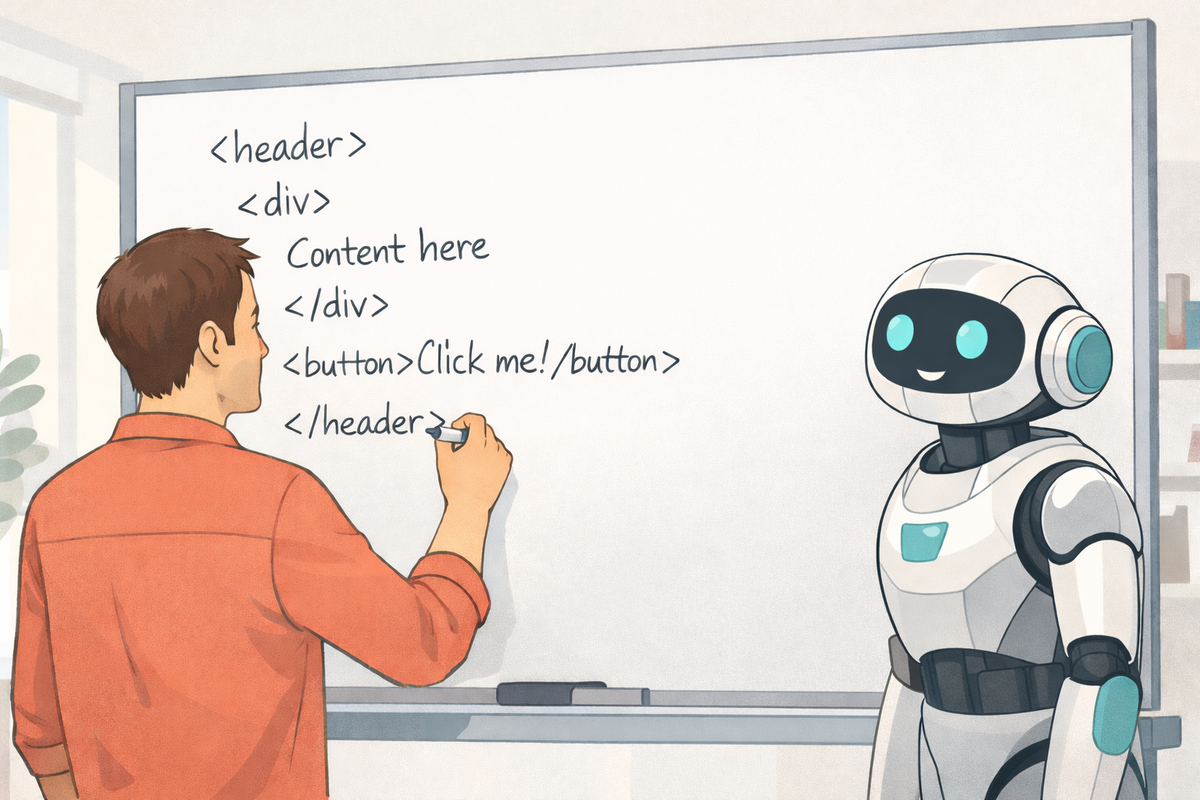
But give that same AI text—structured, semantic text like HTML—and suddenly it's not guessing. It's reading the blueprint directly.
That's the insight that changed my workflow: stop feeding AI tools what you see. Start feeding them what they read.
The Vision Paradox (Or: Why Screenshots Are the AI's Second Language)
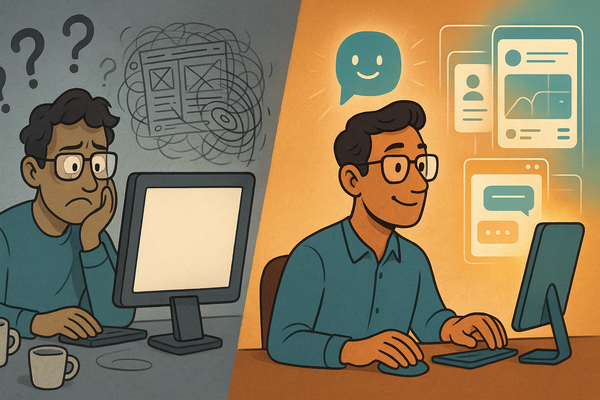
LLMs are trained on code. Billions of lines of it. When you give them text—especially structured text like HTML—they're speaking their mother tongue. When you give them a screenshot, they're translating on the fly, and something always gets lost.
Think about it this way: when you explain a software architecture to another developer, you don't do interpretive dance. You draw a diagram. You use words and boxes and arrows because that's the medium that carries the most information with the least ambiguity.
The same principle applies to your AI coding partner. A screenshot shows pixels. HTML shows intent.
Here's what HTML encodes that your screenshot doesn't:
- Structure: What's inside what? What's a sibling? What's a parent?
- Hierarchy: Which heading level is this? Is it h1, h2, or just styled text?
- Semantics: Is this a button or a div pretending to be a button?
- Spacing logic: Is that gap 16px because of padding, margin, or flex gap?
- Relationships: Does this icon live inside the button or next to it?
A screenshot is a photograph. HTML is the blueprint. And you wouldn't ask a contractor to build your house from a photograph of someone else's house, would you?
(Okay, maybe you would. But you'd expect some creative interpretation.)
The Workflow: From Stitch to Your Codebase
In my previous article, I talked about using metaprompting to get better designs out of Stitch—using one AI to help you ask another AI better questions. That gets you from "blank canvas panic" to a solid design baseline.
But a design sitting in your browser isn't the same as a design in your app. Here's the bridge.
Step 1: Save Your HTML (Yes, Actually Save It)
When Stitch generates a design you like, don't just screenshot it. View the source. Copy the HTML. Save it somewhere in your project.
I use a .spec/designs folder for this. Naming convention: [feature].design.html. So I might have:
/.spec/designs/
  camera-capture.design.html
  document-list.design.html
  settings-screen.design.html
  onboarding-flow.design.html
Why bother? Three reasons:
Version control. When your design evolves (and it will), you can track how. "Why did we change the button placement?" becomes a question with an actual answer.
Repeatability. Next time you need a similar screen, you have a pattern library. "Build something like our settings screen" becomes a meaningful instruction.
Context for AI. When you point your coding assistant at a specific HTML file, it has the full picture, not a cropped screenshot.
Step 2: Understand What You're Actually Giving the AI
Let me show you a real example. Here's a snippet from a camera capture screen I designed in Stitch:
<!-- Top Bar Pattern -->
<div class="flex items-center p-4 pb-2">
  <button class="flex h-12 items-center justify-center rounded-xl">
    <span class="material-symbols-outlined">close</span>
  </button>
  <h2 class="flex-1 text-center text-lg font-bold">Scan New Form</h2>
  <button class="flex h-12 items-center justify-center rounded-xl">
    <span class="material-symbols-outlined">flash_on</span>
  </button>
</div>

<!-- Bottom Controls Pattern -->
<div class="flex items-center justify-center gap-6 p-4">
  <button class="flex size-14 items-center justify-center rounded-full">
    <span class="material-symbols-outlined">photo_library</span>
  </button>
  <button class="flex size-20 items-center justify-center rounded-full border-4">
    <div class="size-16 rounded-full bg-white"></div>
  </button>
  <button class="relative flex size-14 items-center justify-center">
    <span class="material-symbols-outlined">stacks</span>
    <div class="absolute -left-1 -top-1 h-6 w-6 rounded-full bg-primary">3</div>
  </button>
</div>
Now look at what the AI can understand from this:
- Three-section layout: top bar, camera view (implied), bottom controls
- Button sizing hierarchy: the capture button (size-20) is bigger than utility buttons (size-14)
- Icon-only buttons using Material Symbols
- A notification badge positioned absolutely on the stack button
- Flex layouts with specific gaps and padding
If I'd shown a screenshot, the AI would have to guess all of this. With HTML, it knows.
Step 3: The Prompt That Actually Works
Here's where most people mess up. They say "convert this HTML to React Native" and expect magic.
Don't do that.
"Convert" tells the AI to be literal. You'll get className props where you need style objects. You'll get <div> where you need <View>. You'll get CSS that React Native has never heard of and will aggressively ignore.
Instead, use the HTML as a design reference. Here's what I actually tell Cursor:
Reference design: .spec/designs/camera-capture.design.html

This is a DESIGN PATTERN, not code to convert. I need the equivalent
in React Native using our component library.

Build a camera capture screen with:
- Top bar: Close button (left), title (center), flash toggle (right)
- Camera preview: Full-screen with centered document overlay (dashed border)
- Bottom controls: Gallery button (small), capture button (large), stack button with badge (small)

Translation notes:
- HTML flex layouts → React Native View with flexDirection
- size-14 (56px), size-20 (80px) → use our spacing tokens
- Material icons → lucide-react-native
- HTML buttons → Pressable components
Feel free to crib this if it helps... but be sure to replace my architectural choices (React Native) and feature requirements with your own.
See the difference? I'm describing what the design represents, not asking for mechanical translation. The HTML is reference material, not a recipe to follow blindly.
Step 4: Context Engineering (The Secret Sauce)
Before I even write that prompt, I make sure Cursor has the right context loaded. This might sound tedious, but it's the difference between "pretty close" and "actually works."
I set up what I call an "agent description"—basically a cheat sheet for the AI that explains my project's patterns:
You are building a React Native app with these conventions:

Design References:
- Check .spec/designs/ for HTML patterns
- These are DESIGN specs, not code to convert

Our Component System:
- UI components from React Native Paper
- Icons from lucide-react-native
- Colors from our semantic theme (semantic.color.primary.default, etc.)
- Spacing from design tokens (semantic.space.lg, etc.)

Key Translation Rules:
1. HTML div → React Native View
2. HTML button → Pressable with our theme styles
3. Tailwind classes → semantic theme tokens (NOT hardcoded values)
4. Material Symbols → lucide-react-native icons
Now when I reference the HTML design, the AI knows how to translate it into my specific codebase. It's like giving a translator not just a phrase but also the cultural context.
Case Study: Building a Camera Capture Flow
Let me walk you through a real example. I was building DocEasy, an app that helps users scan and digitize paper forms. The camera capture flow was central—teachers are holding a clipboard in one hand and their phone in the other, so everything needed to be one-thumb accessible.
The Design Input
I created three HTML design files in Stitch:
camera-capture.design.html— the photo-taking interfacecrop-enhance.design.html— the crop-and-adjust stepsave-review.design.html— naming and saving the template
What the AI Recognized
Without me explicitly saying so, the AI understood from the HTML:
This is a multi-step wizard (capture → crop → save). The capture button being 80px while utility buttons are 56px means the primary action is visually dominant. The badge on the stack button means there's a count to track. The dashed border overlay implies we need document alignment guidance.
What the AI Built
// The AI inferred these states from the design patterns
const [drafts, setDrafts] = useState([])        // Multi-page support
const [showPageDrawer, setShowPageDrawer] = useState(false)  // Stack management
const [isCapturing, setIsCapturing] = useState(false)        // Prevent double-tap
I never explicitly told it I needed multi-page support. The badge in the HTML design implied it.
What Needed Polish
Let's be honest—no AI output is perfect. I still had to:
- Adjust spacing values where the AI used hardcoded pixels instead of theme tokens
- Implement the gradient overlays (HTML linear-gradient doesn't translate directly)
- Build the actual gesture handlers for cropping (the HTML showed the handles; it couldn't express the interaction)
- Handle edge cases like permission dialogs and error states
But here's the thing: I spent 2.5 hours total on a three-step camera flow. Manual implementation would have taken 12-16 hours. Even with the polish work, I saved 80% of my time.
The Pattern Recognition Superpower
Here's what I didn't expect: using HTML designs made the AI smarter about the bigger picture.
When you show a screenshot, the AI sees a moment in time. When you show HTML, it sees structure—and structure implies purpose.
Whole-Page Understanding
When the AI reads a camera interface HTML with a large capture button, utility buttons, and a badge counter, it doesn't just see "buttons." It infers:
- This is a primary workflow (camera is the main action)
- Users might capture multiple items (hence the counter)
- Quick access to gallery matters (utility button present)
- Users need guidance (overlay visible)
That inference leads to better code. The AI doesn't just make buttons—it makes buttons that work together in a coherent system.
Component-Level Precision
Say I want just the badge component from my larger design. I can say "build the stack button with badge from camera-capture.design.html" and the AI extracts exactly what I need:
<!-- What the AI finds -->
<button class="relative flex size-14 items-center justify-center">
  <span class="material-symbols-outlined">stacks</span>
  <div class="absolute -left-1 -top-1 h-6 w-6 rounded-full bg-primary">3</div>
</button>
// What the AI generates
<Pressable style={styles.stackButton}>
  <Icon name="Layers" size={24} />
  {drafts.length > 0 && (
    <View style={styles.badge}>
      <Text style={styles.badgeText}>{drafts.length}</Text>
    </View>
  )}
</Pressable>
Notice how it made the badge count dynamic, not hardcoded? It understood that "3" was example data, not the actual value.
Do's and Don'ts (Learned the Hard Way)
Do: Use Descriptive Filenames
✅ camera-capture-flow.design.html
✅ document-list-view.design.html
❌ design-v3-final-REAL-use-this-one.html
Future you will thank present you when you're searching for "where's that settings pattern we used?"
Do: Reference Design, Don't Convert
✅ "Use this HTML as a DESIGN REFERENCE for building in React Native"
❌ "Convert this HTML to React Native"
One gives you a native implementation. The other gives you web code wearing a React Native costume.
Do: Provide Framework Context
✅ Load your workspace rules, design system docs, and component library references into the chat context before prompting
❌ Assume the AI knows your project conventions
You wouldn't hire a contractor and not tell them where the electrical panel is. Same deal.
Don't: Expect Pixel Perfection
Aim for:
- ✅ Structurally sound (hierarchy matches)
- ✅ Visually close (looks like the design)
- ✅ Semantically appropriate (uses right components)
Don't aim for:
- ❌ Exact pixel measurements
- ❌ Zero manual refinement
- ❌ Perfect on first try
You're going to polish. Budget time for it.
Don't: Use This for Complex Interactions
HTML is great for communicating:
- ✅ Layouts and hierarchy
- ✅ Visual styling
- ✅ Component structure
- ✅ Basic interactions (button presses, navigation)
HTML cannot express:
- ❌ Complex gesture systems (pinch-zoom, swipe-to-delete)
- ❌ Animation choreography
- ❌ State machines
- ❌ Performance optimizations
For those, you need words. Describe the interaction in detail, reference documentation, or pair the HTML with behavioral specifications.
When This Works Best
New screens with clear visual hierarchy: Camera capture, settings, profiles, forms. The HTML gives the AI a complete picture.
Standard UI building blocks: Cards, lists, navigation bars, form inputs. Patterns the AI has seen millions of times.
Multi-step flows: Wizards, onboarding, checkout. HTML shows progression clearly.
Consistent design systems: When your HTML uses systematic sizing (size-14, size-20) and logical spacing, the AI can map to your tokens.
When to Skip It
Complex animations: If you need spring physics and timing curves, HTML can't help. Go straight to animation library documentation.
Custom gesture handlers: HTML doesn't have a concept of pan gestures or pinch zoom. Write those specs in prose.
Performance-critical rendering: Virtualized lists, lazy loading, render optimization—these need explicit guidance, not design patterns.
Highly stateful interactions: Multi-step forms with conditional fields, real-time validation, complex interdependencies. The HTML shows the end state, not the journey. Break each step into its own "HTML" design and implement the feature iteratively.
The Bigger Picture: Speaking the AI's Language
Here's the thread running through everything I write about AI-assisted development: meet your tools where they are.
My metaprompting article was about communicating design intent to Stitch—using one AI to help you ask another AI better questions.
This article is about communicating Stitch's output to your coding AI—using HTML as the bridge between design and implementation.
This is good advice for working with any intelligence (organic or artificial): figure out what format your partner works best with, then use that format.
Stitch works in visual patterns and JSON specs. Give it structured requirements.
Cursor thinks in code and context. Give it HTML blueprints and framework rules.
You think in product goals and user needs. Give yourself permission to delegate the mechanical work.
The Assembly Line
When everything clicks, it looks like this:
Product Idea → (metaprompt session) → Clear Flows + User Stories → (Stitch generation) → Themed HTML Designs → (save to .spec/designs/) → Design Blueprint → (Cursor plan mode + context) → Working Code → (your polish + refinement) → Shipped Feature
For my camera flow, the timeline was:
- Metaprompt session: 15 minutes
- Stitch design generation: 5 minutes
- Save HTML + write Cursor prompt: 10 minutes
- AI code generation: 5 minutes
- Polish & refinement: 2 hours
Total: ~2.5 hours for a three-step camera flow.
Without HTML reference, I'd estimate 12-16 hours of manual implementation, trial-and-error layouts, icon selection, state management design.
That's not "AI doing my job." That's AI clearing the roadblock so I can do my job better.
The Punchline
You're still driving. This isn't about abdicating creative responsibility to a machine. It's about using the right communication medium for each step of the process.
Product judgment? Still you. You decided users need one-handed camera operation.
Technical decisions? Still you. You chose the state management pattern.
User empathy? Definitely still you. You understood the clipboard-in-one-hand context.
Quality and polish? All you. That's the work that makes it good instead of just done.
The AI handles the translation between "this is what it should look like" and "this is what the code should be." That translation is tedious, mechanical, and error-prone when done manually. It's exactly the kind of work computers should do.
Your job is everything else—and everything else is what actually matters.
So next time you finish a design in Stitch, don't screenshot it. Save the HTML. Give your AI a blueprint instead of a polaroid. And spend the time you save on the parts of building software that only a human can do.
Like arguing about button colors. (Kidding. Sort of.)
This is part two of a series on AI-assisted design-to-development workflows. Part one covers metaprompting for better AI design generation. Leave a comment and let me know what challenges or success you've experienced working with AI in UX design/implementation.